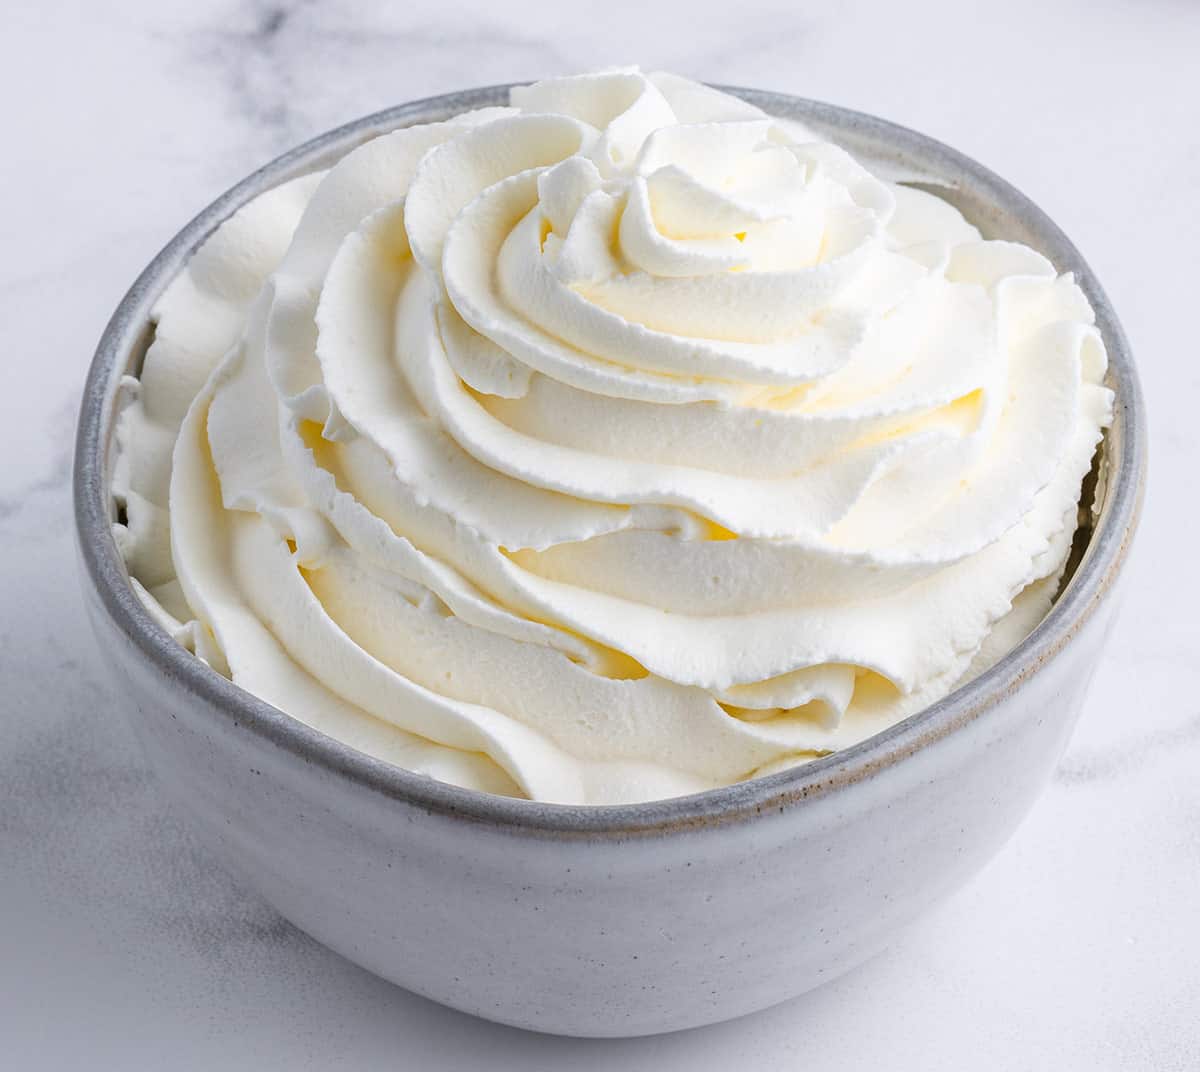
Cream that is whipped, thanks to its airy, light texture and delicious taste is an excellent addition to a wide range of desserts. But anyone who’s tried to make it in the kitchen knows the speed at which it loses its volume and turn watery. It is particularly difficult especially if you’re trying to get your desserts to be in top shape for an extended period of time. Stabilizing the whipped cream is essential ingredient to maintain its flawless smoothness and is much easier than you imagine.
The journey to stable whipped cream begins with the foundation of the cream. The amount of fat in the cream is crucial; therefore heavy cream or whipping cream with at minimum 30% fat is ideal. The fat content is high enough to allow the cream to catch air and maintain its shape. Prior to beginning, cooling the bowl, cream and whisk is critical. The cooler temperature boosts the speed at which the fat remains stable, thereby making the whipped cream firmer sooner. The more you whip, it will move through several stages: soft peaks, medium peak, and hard tops. Most desserts require the whipping process should be stiff and recommended, since it is at this stage when the crème has the greatest stability and is able to retain its shape.
However, what happens to long-term stability? Here stabilizers enter use. The most commonly used stabilizers are powdered sugar, cornstarch, and gelatin. Sugar that is powdered contains cornstarch which helps absorb excess water, and also prevents tears. Cornstarch is used as a standalone ingredient, provides the same benefit and is especially beneficial for those who require a gluten-free option. Gelatin is, on the other is a much more sophisticated network within the cream that holds the air bubbles in place. Gelatin is the ideal stabilizer for any cream that has to hold up for hours in the heat of the day, or during the food photography.
The incorporation of these stabilizers demands an able hand and proper approach. If you are using powdered sugar or cornstarch you can mix them throughout the Stabilized whipped cream method. Gelatin, however, needs more attention. It must be bloomed in cold water, then it is melted after cooling, and then slowly added to the cream while it whips. The trick is to include it in the middle of when the cream is being whipped until it forms soft peaks. Too soon and it may not blend well. too late, and the cream could form lumps. Whatever stabilizer you choose, the aim is to keep the airy texture while giving it the strength required to last.
Other than stabilizers, there’s alternatives to help ensure that the cream is fluffy and firm. One popular technique is to add cream cheese, or mascarpone. They not only add stability due to their own protein and fat content as well as a delicious character that will complement the sweetness of the cream. Another method can be to whip it in stages, allowing it to get cool in the refrigerator once it has the peaks have softened before beginning the whipping process until it reaches stiff peak. This staged approach lets the fat stabilize around the air bubbles and create the appearance of a more robust and more stable structure.
In the end, the placement and storage of the stabilized whipped cream is just as important as the preparation. Apply the whipped cream gently. delicate touch. Use the spoon or piping bag to apply it to the desserts. Avoid excessive handling or pressing down, which can reduce the volume of bubbles and make the cream lose its volume. In order to store it, keep the whipped cream as cold as you can, without freezing. It should be used within a few hours following the preparation. Or, in the case of a powerful stabilizer, such as gelatin can last as long as a day.